Building a Web App With Svelte & Prisma
So in this article, I thought I would go through how you can use two really good technologies in order to build a very modern, flexible, fast, and easy-to-use serverless web application.
So in this article, I thought I would go through how you can use two really good technologies in order to build a very modern, flexible, fast, and easy-to-use serverless web application. Our frontend in this case will be provided and built using the relatively new frontend framework, Svelte & Svelte Kit. You can look at SvelteKit like kind of the Svelte version of React's Next.js. The backend for this application will be provided by SvelteKit's serverless endpoints feature. This means that you can simply create a JavaScript or TypeScript file inside of src/routes, and then you can hit this endpoint in order to submit, update, get, or delete data (which can live inside of database, since the logic is run server-side).
Getting started
To set up our project, we need to start by creating a new SvelteKit application. This can be done really easily by running this command in your terminal. Note that this article focuses on people using Macs, but most of the functionality should be available on Windows & Linux as well.
Install dependencies
npm install prisma @prisma/client
Generate Prisma files
This will set up some new files in the directory for you.
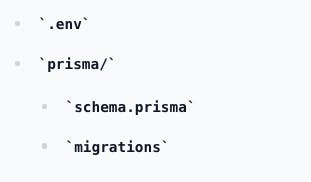
Database
To start off, you need to provide a URL to your database for Prisma to be able to run its migrations. To do this, open up the .env file and update the DATABASE_URL environment variable to be a valid URL to a database somewhere. This can either (for now) be a database running on your local machine, or one that's hosted somewhere on the internet. Just make sure the database type is one of these ones.
- PostgreSQL
- MySQL
- SQLite
DATABASE_URL="URL TO YOUR DATABASE"
Create your first model
To create a new model for your database, you can go ahead and open the prisma/prisma.schema file. Here you can define your first model. To do this, you simply just use the model keyword, give it a name, and then define which fields you want your model to have. Here I just want to give a shoutout the Prisma Schema Builder, which is an app where you visually can build out your schema, and not have to write it yourself. But, if you still want to do that - a model can look something like this. To learn more about the Prisma schema language, you can read more about it here.

Creating & running migrations
To apply your schema to your database, you need to run a command that looks like this. This will go ahead and first create a SQL migration and put it inside of the prisma/migrations folder. Then, it will go ahead and try to apply the migration against your database, for which URL you specified in the DATABASE_URL environment variable. So, if that URL isn't correct, your migration will fail.-
npx prisma migrate dev --name="A NAME OF THE MIGRATION"
Generating the Prisma client
Now comes the really cool part with Prisma. At this point, we've created our model, generated a migration, and applied it to our database. If we'd go ahead and look inside of our database, we would see a table called User with the columns we specified in the schema file. Now comes the ORM part of Prisma, which you can use to actually query the database, instead of having to write raw SQL commands. To do this we can run this command.
npx prisma generate
Serverless endpoints
Now that we've got our database all set up, and an ORM to query it, we can start creating the serverless endpoints we want for our application. And, to do this, we can simply add JavaScript or TypeScript files into src/routes.
Inside of the files we can then export asynchronous functions which are named after the HTTP method we want to account for. So for example, if we want to a POST endpoint /users. We can create a file that looks like this.
src/routes/users/index.jsJavascript
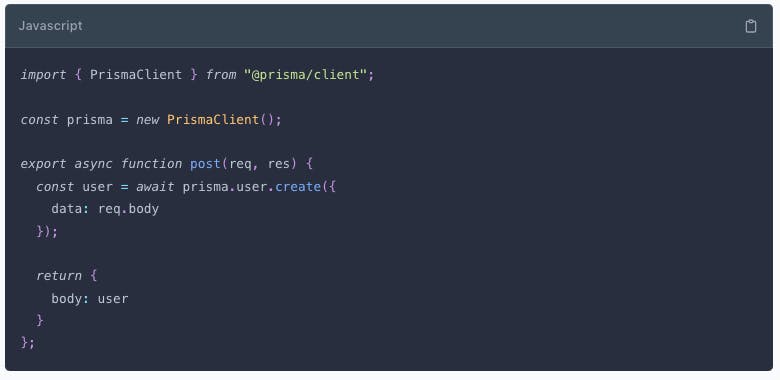
Now, if you go ahead and send a POST request to http://localhost:3000/users, and send the relevant data along as the body parameter, a new user should be created inside of the database table.
Frontend (Svelte)
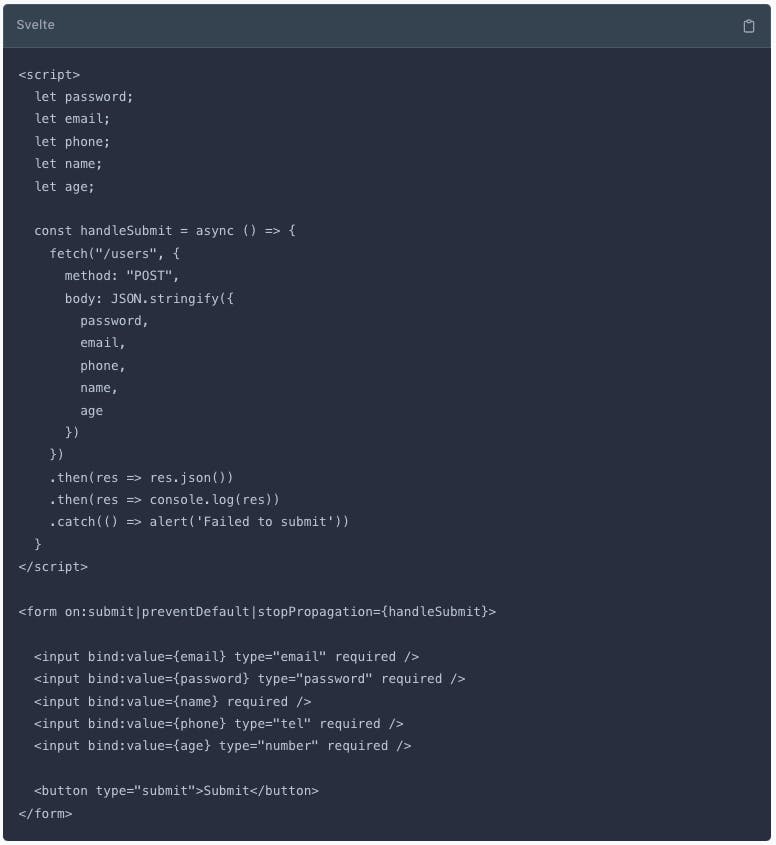
Now that we've got a basic SvelteKit endpoint set up for creating a new user, we can add a form to try out this functionality. To do so, we can update the src/routes/index.js to look something like this. With that code, all saved and ready to go, filling out the form and then clicking the button, should, in theory, submit the data to the serverless endpoint and run create a new user.
Hosting
Hosting a SvelteKit app is quite easy to do on most platforms. One thing you have to do at this point though, is you have to set up an adapter for the hosting provider you're going to use. So, for example, if you want to host on Vercel, you have to use the adapter-vercel adapter. You can read more about this here.
Wrapping up
Now you should have a pretty good idea of how you can use Svelte & Prisma in order to create a web application that uses serverless endpoints to create, update, fetch and delete data from a database.
If you like this sort of content, consider following me on Twitter. There you'll find more bits and pieces and get notified when I post a new blog post. Find me on Twitter @albingroen.
Original blog article https://blog.albingroen.com/posts/svelte-and-prisma
